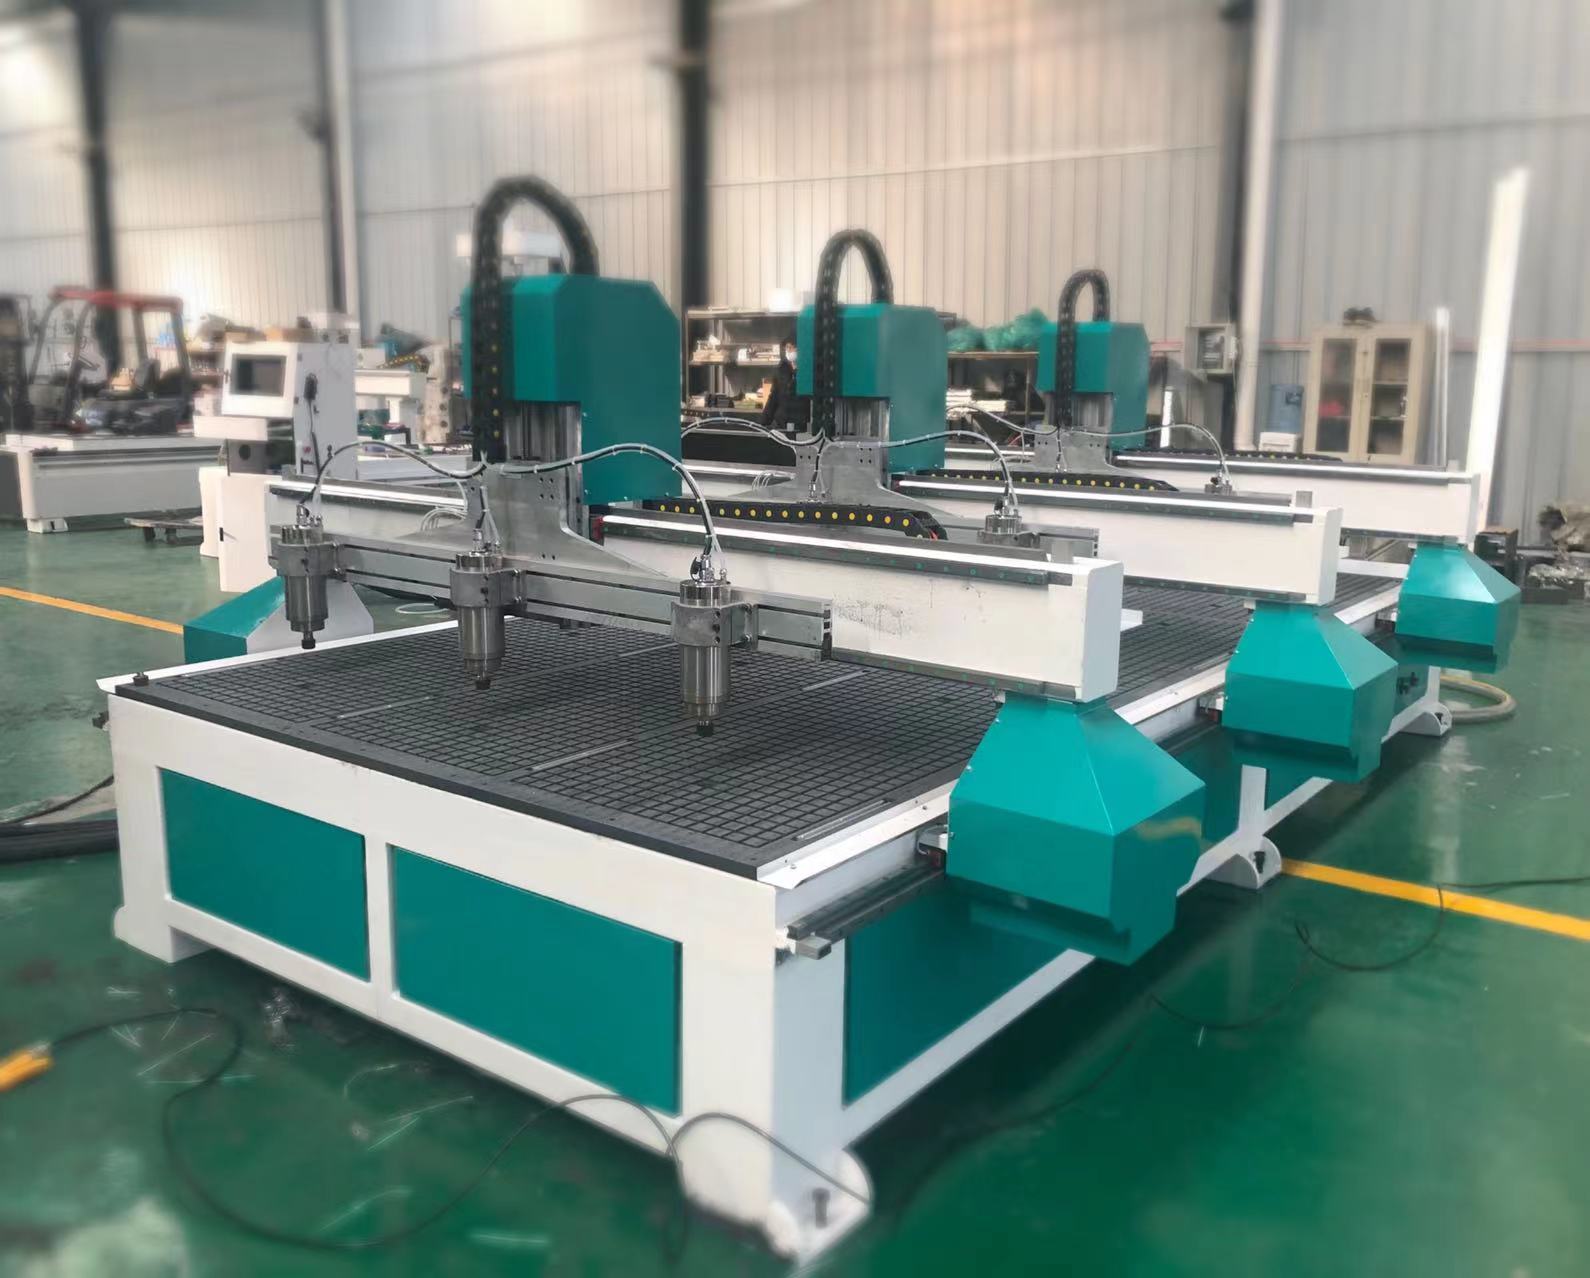
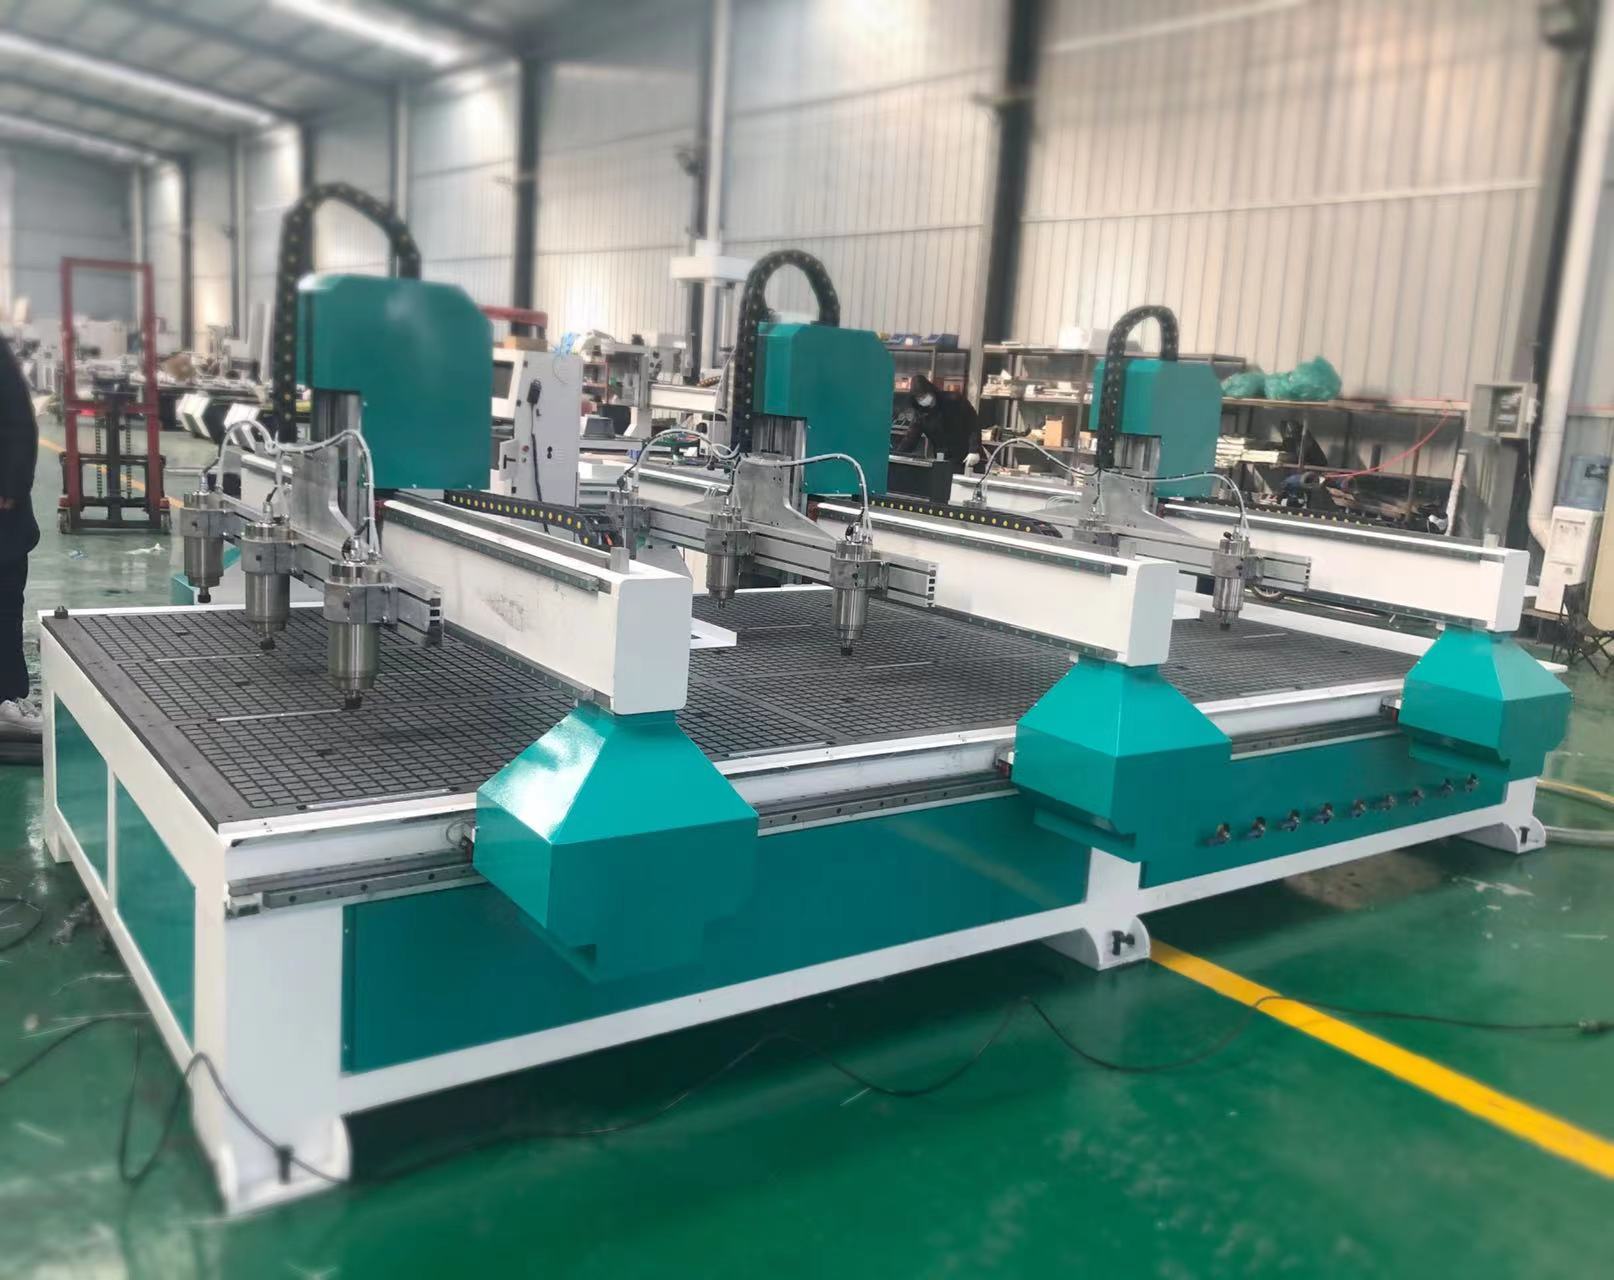
Big Heating Plate Cutting Machine
1. High production efficiency
2. High precision and high reliability;
3. Can process complex workpieces;
4. Strong adaptability;
5. Good economic benefits;
The device reducing gadget is processed in keeping with the commands given in virtual form. normally, the going for walks system does no longer require guide intervention, which receives rid of the mistake because of the operator. when designing and production the tool device device, many measures have been taken to acquire excessive precision and stress of the mechanical part of the tool reducing tool. similarly, the force system and shape of the knife slicing device have excessive anxiety and thermal balance. thru reimbursement generation, the cutter slicing system can collect better machining accuracy than its non-public.
Performance Index
Model NO. | |
X, Y, Z Traveling Area | X1300mm*Y500mm*Z250mm |
Max. Rapid travel Rate | 40-60m/min(MAX) |
Max. Working Speed | 15-20m/min(MAX) |
X,Y Resolution | <0.03mm |
Spindle Power | 2.2kw constant power spindle 24000 rpm*6 |
Working Voltage | AC380V/220v/3PH/50HZ |
Control System | Genuine DHTM Control System |
Rack and Pinion | Domestic 1.25M alloy hard-toothed helical rack + alloy hard-toothed helical gear |
Table Surface | T-slot and vacuum working table |
Guide | Taiwan 25 precision guide rail |
Drive Motors | Servo motor |
Reducer | Japan Xinbao reducer |
Inverter | Best 7.5kw inverter*2 |
Total Power | 35kw |
Appearance size | 2000mm*1000mm*500mm |
The whole process of processing and testing:
1. Steel plate integral airframe welded fuselage
2. Rough machining of gantry milling machine
3. Internal stress relief treatment:
1) Tempering (annealing) heat treatment of gantry beam and side arm
2) Aging treatment of bed vibration
4. Finishing:
1) The imported pentahedron machining center (mother machine) is used to locate and fix the body at one time;
2) The installation reference surface of the overall precision milling X, Y, Z three-axis bidirectional guide rails and racks;
3) After the datum surface processing is completed, under the same positioning accuracy, the one-time processing of the positioning pin holes, fixed installation holes and screw holes of the installation reference surface of the X, Y, and Z three-axis bidirectional guide rails is completed.
5. Transfer to the assembly process and assembly
6. Quality inspection process
1) Precision ruler and dial indicator: check the straightness of X, Y and Z axes
2) Precision ruler, dial indicator, spirit level, and laser interferometer detect the parallelism between X, Y, and Z guide rails
3) Precision angle ruler, dial indicator, special inspection tool, ball bar: detect the verticality of X, Y, Z three-axis guide rails
4) Dial indicator, special inspection tool: spindle verticality detection
5) Special inspection tool, dial indicator, precision angle ruler: detect the parallelism and perpendicularity of X, Y, Z rack and lead screw and the corresponding linear axis (guide rail)
7, paint, packaging
8. Factory
Services
1. training
*The trainee must have certain relevant education and knowledge. The supplier will train the customer in programming, operation, processing and daily maintenance. The trainee must be fixed and study hard.
*The technical engineer of the supplier pays a return visit to the customer from time to time, and conducts technical exchanges with the customer in terms of machine operation and product processing. The user can consult our company any questions by phone and email at any time.
2. After-sales service
*Free maintenance of the machine during the warranty period
*The free warranty period is one year.
Related News
Submitted successfully
We will contact you as soon as possible


