How to Improve the Repeatability and Efficiency of CNC Machining
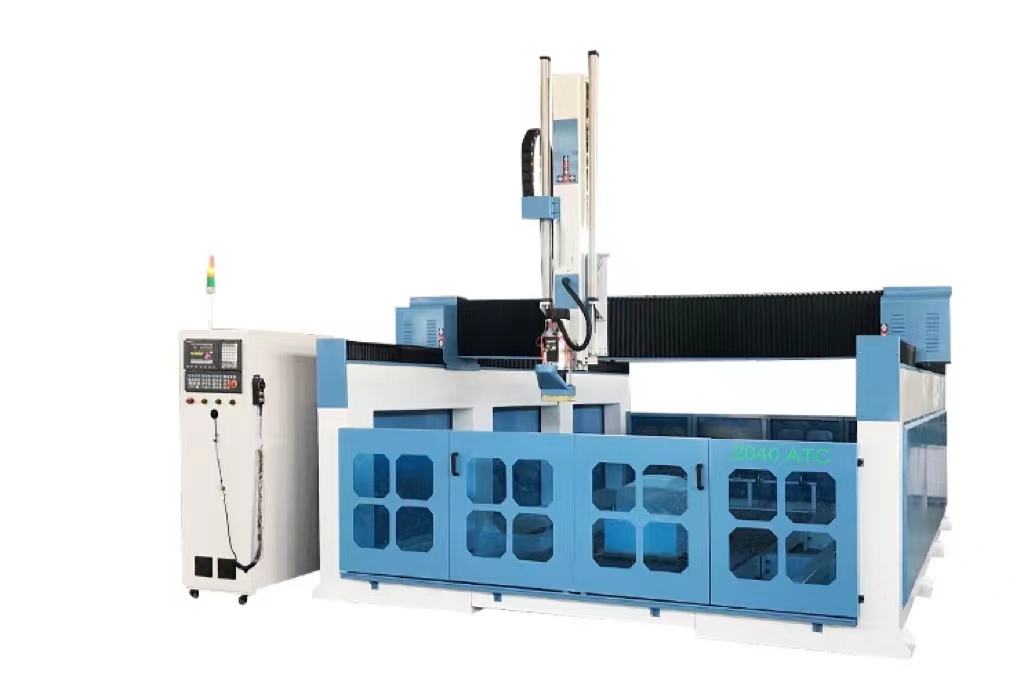
Nowadays, many CNC machine tools are in use. Since there is no corresponding high-tech measurement method (such as a three-coordinate measuring instrument, etc.), most of them have to manually align the workpiece to measure the workpiece, especially in the process of some repetitive parts. Time-consuming and labor-intensive, affecting production efficiency. How to improve this situation can only be done by designing a simple and practical auxiliary fixture.
Our CNC machine tools mainly process mold electrodes, and the electrodes must be repaired after each electrical machining. Although the electrode workpiece has a reference line, it is ambiguous after repeated use, and the human error in time makes it difficult to ensure the accuracy of the electrode position during processing, and even produces waste. To solve this problem, we designed a very simple and practical V-shaped iron auxiliary fixture, see, in which the positioning body of the Y-axis surface of the fixture is embedded in the T-shaped groove of the workbench. See, the positioning body and the T-shaped groove are matched with f or (the maximum clearance is preferably not greater than zero). In order to ensure the positional tolerance between the x and y positioning surfaces and the mechanical coordinates of the machine tool, after the positioning body is fixed (that is, the positioning pins are inserted at the appropriate position on the positioning body, other fixing methods can also be used), and the X and y positioning surfaces are respectively Finish machining to ensure the geometrical and positional tolerances with the machine tool's mechanical coordinates. In this way, when machining the electrode workpiece, the two positioning surfaces of the workpiece are first machined, and the workpiece is fixed in close contact with the positioning surface of the fixture, and the zero point of the workpiece is set, and its absolute coordinate value is recorded. When the workpiece is repeatedly re-processed, clean, position and fix the workpiece, start the machine tool to the position where the coordinate value is recorded, and set the zero point to process, or set the origin to add it to the workpiece program. By modifying the 2-axis zero point or z-axis tool compensation, you can add T-shaped (20) T-shaped groove width. Peng Shuai processes inner holes on a lathe, especially for ultra-deep inner holes. According to the usual processing method, only the tailstock can be used. The drill sleeve on the hole is drilled.

This method has a good centering effect, and generally drills shallower holes. For some deep holes, it is not so convenient to use the tailstock to drill. It is often necessary to repeatedly shake the tailstock handle many times to drill a deep hole. Especially when drilling, the tailstock must be dragged due to the long drilling depth. , Drilling depends on manual feeling, chip removal is difficult, a little careless, the drill bit is easy to get stuck in the inner hole, the labor intensity of workers is high, and the efficiency is not high. In view of the difficulty of drilling deep holes, we use the method of installing the Morse clip body on the turning tool holder to drill deep holes. This Morse clip body is selected according to the number of the Morse taper of the drill bit. The corresponding inner cone sleeve clip body is selected. It is the tapered sleeve clip body and the workpiece drawing.
The method of using and installing the clip body is introduced as follows: ① First, make the positioning surface of the Morse clip body and the pressing groove of the turning tool rest flat, and install the drill bit selected according to the size to be processed into the Morse clip body. In the cone, press the set screw of the pressure groove of the tool holder. ②When designing the magazine body, it is necessary to ensure that the center height of the drill bit and the center height of the tailstock for the cone clamping in the Morse magazine body are consistent. ③ In order to ensure the concentricity of the workpiece drilling, when drilling a deep inner hole, generally use the tailstock to drill a hole, and then move the drill bit of the clip body to the distance of the sliding plate, or use a dial indicator to align it, so that Drilling can be done with a cartridge body drill mounted on the tool holder. ④ This kind of drilling ultra-deep holes with drill bits installed on the tool post of the lathe can be automatically fed, which widens the size of the drilling depth and reduces the labor intensity of the operators. It is very convenient to change and clamp the drill bits. Operation, this method of drilling deep holes is stable and reliable, and the deep holes drilled meet the design and process requirements, which are worthy of use by colleagues.
Work out the amount of reprocessing. By adding this simple and easy auxiliary fixture, the workpiece alignment and positioning time is eliminated, the human operation error factor is basically eliminated, and the production efficiency and processing quality are improved.


